
How to Grow Arugula Microgreens
Updated July 2026
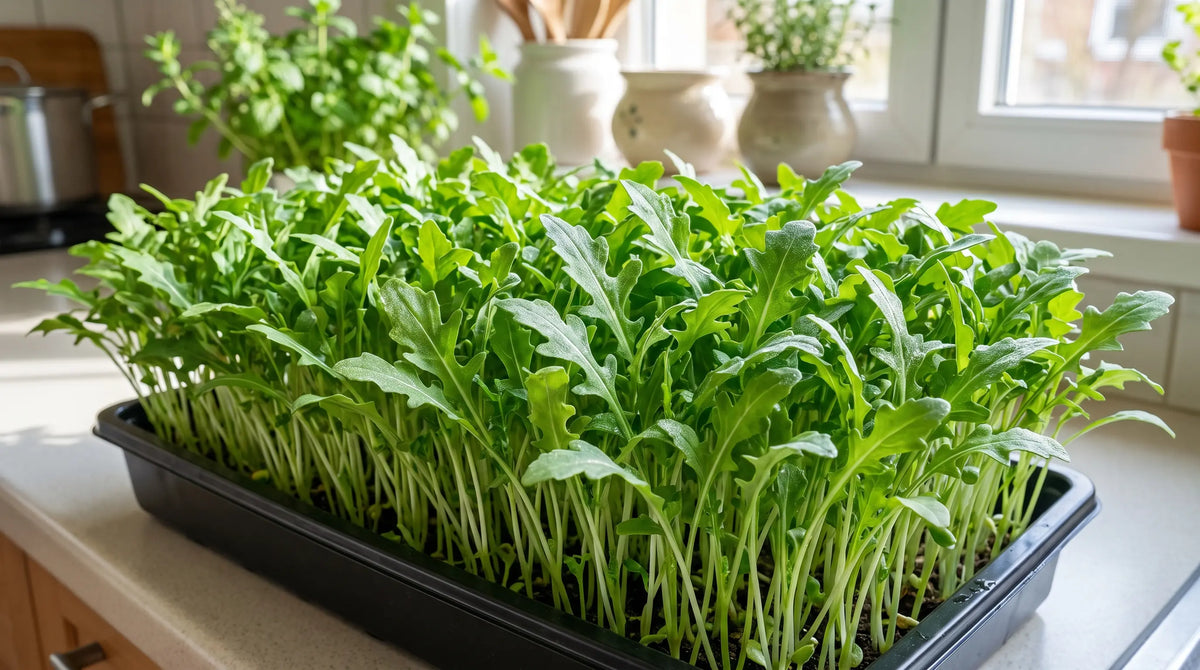
Arugula microgreens are the tender young shoots of arugula, harvested in about 8 to 12 days, with delicate green serrated leaves and a bold, peppery, nutty flavor. They are a fast, easy tray crop, an intense little version of mature arugula that adds a sharp kick to almost any dish. Just sow the seed dry on a shallow tray on a bright windowsill and watch them fill in. Best of all, they grow indoors year-round and pack the concentrated nutrition microgreens are famous for.
Best tip
At a glance
When to plant
How to plant
Growing and care
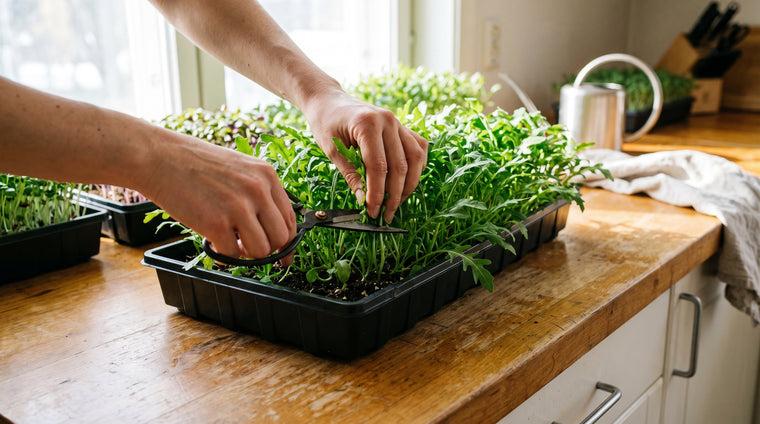
Harvest
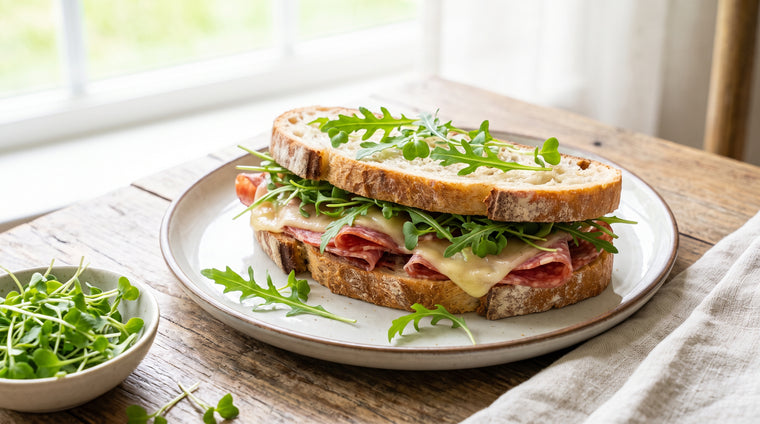
Uses
Common problems
Frequently asked questions
Should I soak arugula seeds before growing microgreens?
No, do not soak arugula seeds. Arugula seed is mucilaginous, meaning it forms a gel when wet, so soaking turns it into a sticky mess. Sow the seed dry and evenly on a moist tray, then mist the surface. The gel actually helps the seed hold moisture as it germinates.
How long do arugula microgreens take to grow?
Arugula microgreens are ready in about 8 to 12 days from sowing. They grow quickly and easily on a tray, giving you a fast crop of peppery, nutty greens with minimal fuss. Keep a few trays on rotation for a steady supply.
Is the gel around my arugula seeds a problem?
No, that gel is completely normal. Arugula seeds are mucilaginous and form a clear jelly-like coating when moist. It can look alarming but it is harmless and actually helps hold moisture around the seed during germination. Do not rinse it off. This is exactly why you sow arugula dry on a tray rather than soaking it in a jar.
Is the white fuzz on my arugula microgreens mold?
It is almost always harmless root hairs, not mold. Fine white fuzz that hugs the stem near the seed and disappears when you mist it is normal root hair. Real mold looks slimy or cobweb-like, spreads across the soil, and smells sour. If you see that, increase airflow, water less, and sow more thinly.
Can I sprout arugula in a jar?
It is not recommended. Because arugula seed gels when wet, jar sprouting turns into a slimy, hard-to-rinse mess. The tray method is the way to go: sow the dry seed on a shallow tray of fine mix or coconut coir, mist, and grow it out into full peppery microgreens.
What do arugula microgreens taste like and are they healthy?
Arugula microgreens have a bold peppery, nutty flavor, an intense version of mature arugula, perfect for adding a kick to salads, sandwiches, and pizzas. Like all microgreens they are remarkably nutrient-dense, often more concentrated in vitamins and antioxidants than the full-grown plant.
Sale

Arugula Microgreens Seeds – Non-GMO HeirloomNon-GMO, heirloomNon-GMO Arugula microgreen & sprouting seeds — fast tray crop with a peppery, nutty bite.
Price$14.99Starting at$12.99
Growing arugula microgreens? These other Non-GMO microgreen seeds are just as fast and easy to grow at home:
Sale

Broccoli Seeds for Sprouting & MicrogreensNon-GMOBroccoli microgreens — fresh, mild broccoli flavor.
Price$12.99Starting at$9.99
Sale

Radish Sprouts & Microgreens Seeds – Non-GMO HeirloomNon-GMORadish microgreens — bold, spicy, peppery flavor.
Price$19.99
Sale Price$17.99
Sale

Beet Microgreens & Sprouting Seeds – Non-GMO HeirloomNon-GMOBeet microgreens — earthy, mildly sweet flavor.
Price$24.99
Sale Price$21.99

- Choosing a selection results in a full page refresh.


 Easy Returns 30-day guarantee