
How to Grow Curled Cress Microgreens
Updated July 2026
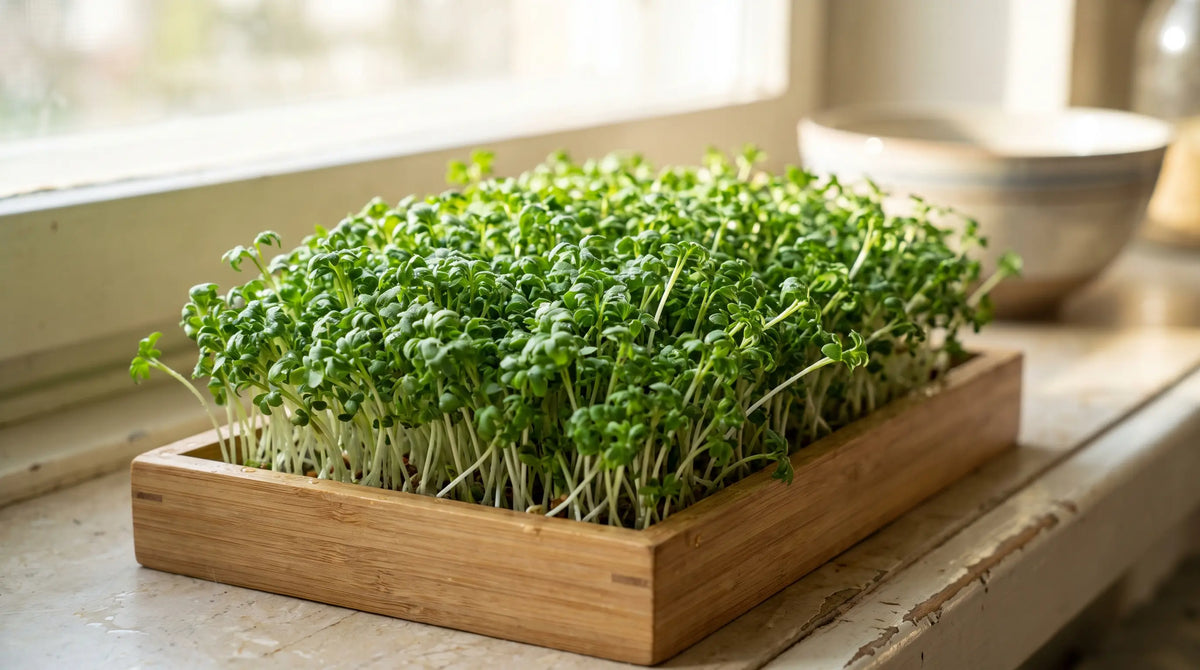
Curled cress microgreens are one of the fastest, easiest greens you can grow. These fine, frilly seedlings pack a bright, peppery, tangy bite that wakes up salads, sandwiches, and avocado toast. There's no soaking and no special equipment: just sow the seeds dry on a shallow tray, keep them moist, and you'll be harvesting tender greens in about a week. Best of all, they grow indoors year-round, right on a sunny windowsill.
Best tip
At a glance
When to plant
How to plant
Growing and care
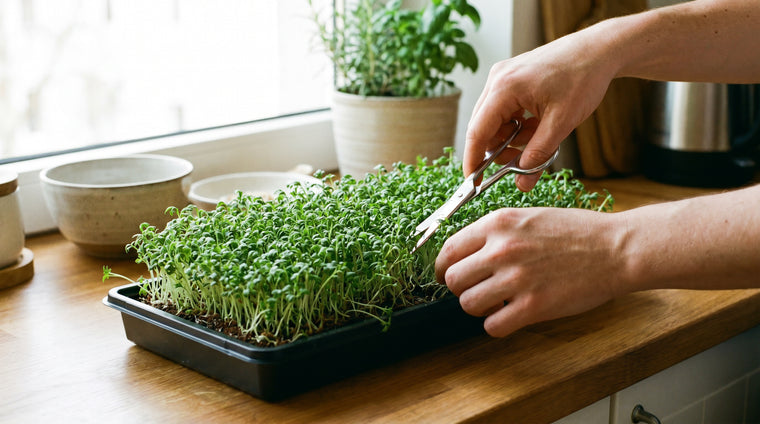
Harvest
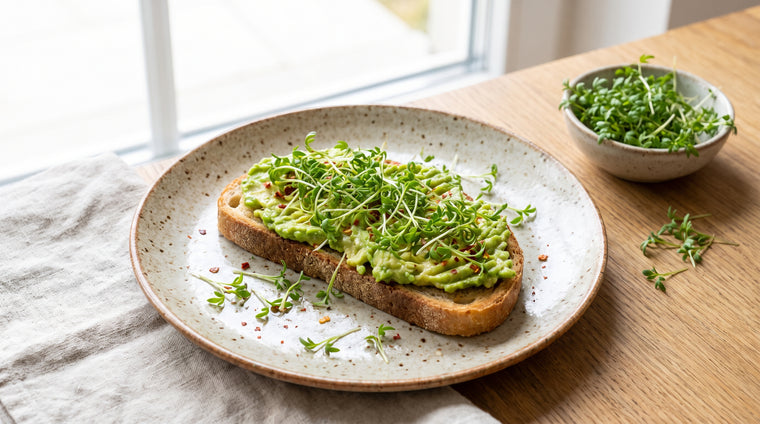
Uses
Common problems
Frequently asked questions
Do I need to soak curled cress seeds before sowing?
No. Curled cress seeds are mucilaginous, which means they form a natural gel when wet. Sow them dry and simply mist the surface. Soaking makes them clump into a sticky mass and is never necessary.
How long do cress microgreens take to grow?
Curled cress is one of the fastest microgreens. Most trays are ready to harvest in about 6 to 12 days from sowing, when the greens reach 1.5 to 2 inches tall.
Is that white fuzz on my cress mold or root hairs?
Fine white fuzz clustered around the stems near the seeds is almost always root hairs, which are normal and disappear when misted. Mold looks different: it is slimy or cobweb-like, spreads across the soil surface, and often smells sour. If you see that, improve airflow, water less, and sow a little thinner next time.
Do cress microgreens regrow after harvesting?
No. Like most microgreens, curled cress does not regrow once cut. Harvest the whole tray, then compost the roots and mix and start a fresh sowing. Because cress grows so quickly, a new tray is only about a week away.
How much light do cress microgreens need?
After a short 2 to 3 day covered germination period, uncover the tray and give the greens bright light, either a sunny windowsill or a grow light for about 10 to 16 hours a day. Good light keeps the stems short and the color deep green rather than pale and leggy.
Should I grow cress in a jar or a tray?
Use a shallow tray. Because cress seeds gel when wet, they do not rinse and drain cleanly in a sprouting jar, so the tray method with a fine growing medium gives far better, more reliable microgreens.
Sale

Cress Microgreens & Sprouts Seeds – Non-GMO HeirloomNon-GMO, heirloomNon-GMO curled cress microgreen & sprouting seeds - fast, peppery greens in about a week.
Price$21.99
Sale Price$19.99
Want more variety on your windowsill? Try these other easy, non-GMO microgreens:
Sale

Broccoli Seeds for Sprouting & MicrogreensNon-GMOBroccoli microgreens - mild, fresh flavor with a hint of pleasant sweetness.
Price$12.99Starting at$9.99
Sale

Radish Sprouts & Microgreens Seeds – Non-GMO HeirloomNon-GMORadish microgreens - bold, spicy, peppery flavor and fast, easy growth.
Price$19.99
Sale Price$17.99
Sale

Beet Microgreens & Sprouting Seeds – Non-GMO HeirloomNon-GMOBeet microgreens - earthy, sweet flavor and striking magenta stems.
Price$24.99
Sale Price$21.99

- Choosing a selection results in a full page refresh.


 Easy Returns 30-day guarantee