
How to Grow Broccoli Microgreens
Updated July 2026
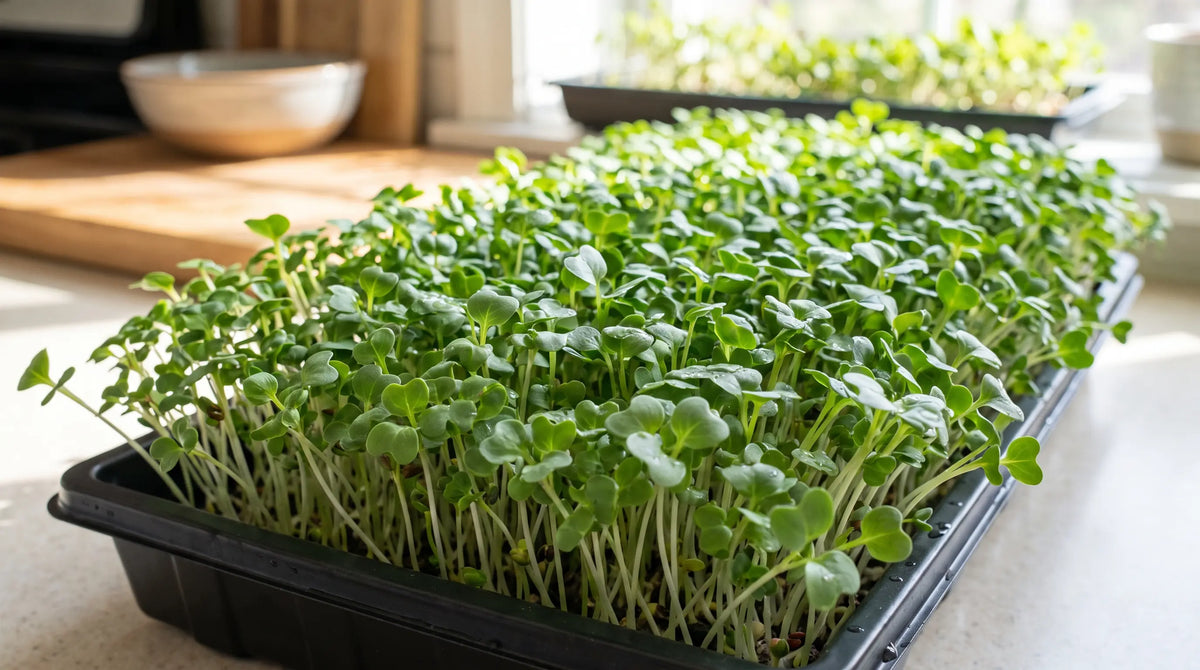
Broccoli microgreens are the tender young shoots of broccoli, harvested about a week to twelve days after sowing, with a fresh, mild broccoli flavor and a light peppery note. They are one of the easiest and most rewarding microgreens to grow: fast, very high-yielding, and forgiving enough for a first-time grower. You can raise them in a shallow tray on any bright windowsill, or sprout them in a jar with no soil at all. Best of all, they grow indoors year-round and are famously nutrient-dense, prized as one of the top plant sources of sulforaphane.
Best tip
At a glance
When to plant
How to plant
Growing and care
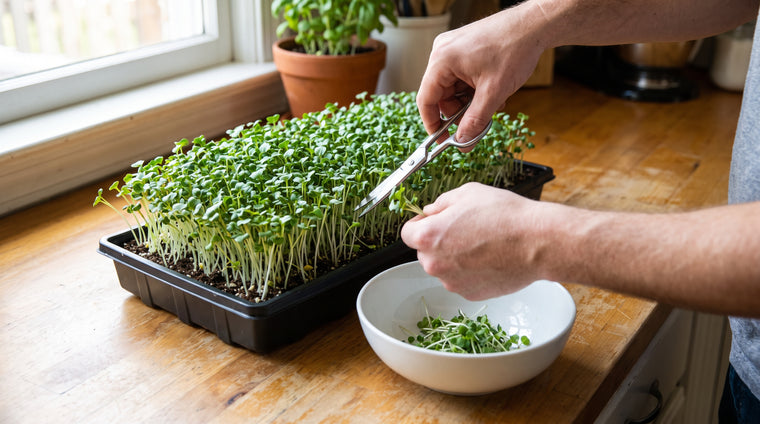
Harvest
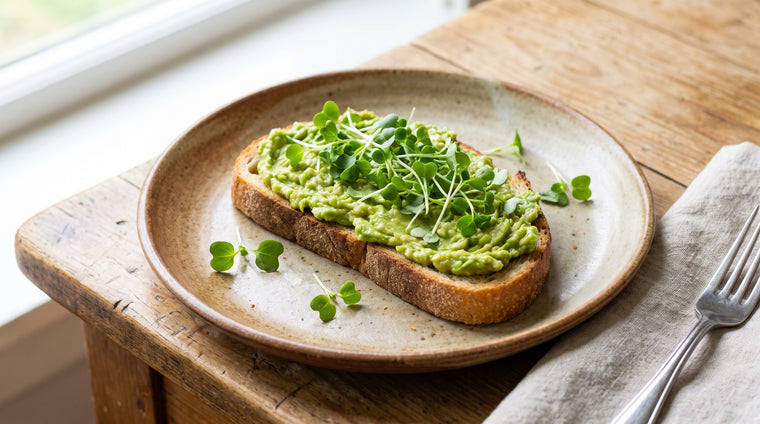
Uses
Common problems
Frequently asked questions
Do I need to soak broccoli seeds before growing microgreens?
Soaking is optional for broccoli but it helps. A 4 to 8 hour soak in cool water before sowing speeds up and evens out germination. For very small tray sowings you can skip it, but for jar sprouting a soak is standard. Either way, keep the seeds evenly moist afterward.
How long do broccoli microgreens take to grow?
Broccoli microgreens are usually ready to harvest in about 7 to 12 days from sowing. Grown as sprouts in a jar they come even faster, in roughly 3 to 5 days. You harvest once the cotyledon leaves have fully opened and the greens stand about 1.5 to 2 inches tall.
Is that white fuzz on my broccoli microgreens mold or root hairs?
It is almost always harmless root hairs. Fine white fuzz that hugs the stem near the seed and disappears when you mist it is normal root hair, most common around days 2 to 4. True mold is different: it looks slimy or cobweb-like, spreads across the soil surface rather than the stem, and often smells sour. If you see that, improve airflow, water less, and sow a little thinner next time.
Do broccoli microgreens regrow after you cut them?
No. Broccoli microgreens are harvested by cutting the stem just above the soil, and that single stem does not regrow a second crop. Because they grow so fast and cheaply, the simplest approach is to sow a fresh tray every week or two so you always have a steady supply.
Should I grow broccoli as sprouts in a jar or as microgreens in a tray?
Both work beautifully with broccoli, so it comes down to what you want. Jar sprouting is faster (3 to 5 days), needs no soil, and gives you tender sprouts you rinse a few times a day. Tray growing takes 7 to 12 days and gives you taller, leafier microgreens with a fuller flavor and higher yield. Many people keep a jar going for quick sprouts and a tray for cut-and-come garnish greens.
Why are broccoli microgreens considered so nutritious?
Broccoli microgreens are one of the most nutrient-dense greens you can grow at home and are a top source of sulforaphane, a compound in the broccoli family that has drawn a lot of research interest. Like other microgreens they pack concentrated flavor and nutrients into tiny leaves, which is why a small handful goes a long way on a salad, sandwich, or bowl.
Sale

Broccoli Seeds for Sprouting & MicrogreensNon-GMO, heirloomNon-GMO broccoli microgreen & sprouting seeds — high-yield, nutrient-dense, and equally good in a tray or a jar.
Price$12.99Starting at$9.99
Growing broccoli microgreens? These other Non-GMO microgreen seeds are just as fast and easy to grow at home:
Sale

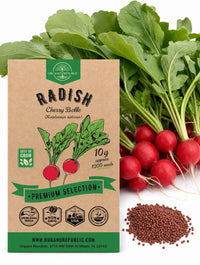
Radish Sprouts & Microgreens Seeds – Non-GMO HeirloomNon-GMORadish microgreens — bold, spicy, peppery flavor and some of the fastest greens you can grow.
Price$19.99
Sale Price$17.99
Sale

Beet Microgreens & Sprouting Seeds – Non-GMO HeirloomNon-GMOBeet microgreens — earthy, sweet flavor with striking magenta stems that dress up any plate.
Price$24.99
Sale Price$21.99
Sale

Arugula Microgreens Seeds – Non-GMO HeirloomNon-GMOArugula microgreens — fresh, nutty, peppery flavor that shines raw on salads and pizza.
Price$14.99Starting at$12.99

- Choosing a selection results in a full page refresh.


 Easy Returns 30-day guarantee